


To help you add information and images to your route in the easiest and most logical way, we’ve created what we call the “Wizard navigation”.
It’s a step-by-step process that allows you to quickly and easily add info to your listing without getting lost or wondering what’s next.
Getting started with the Wizard
To get started, click on the first item in your task list in the Route Editor. It’ll look like this:
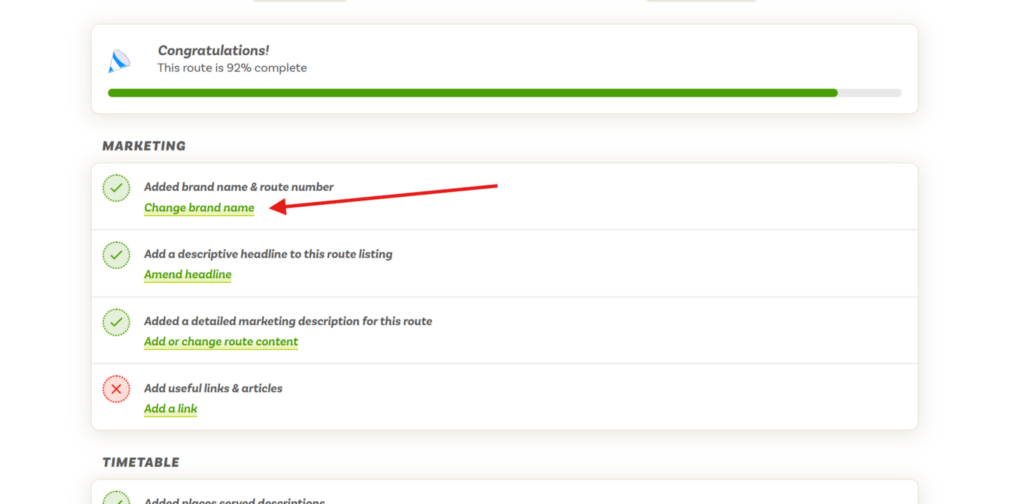
You’ll be taken to a form page that looks like this:
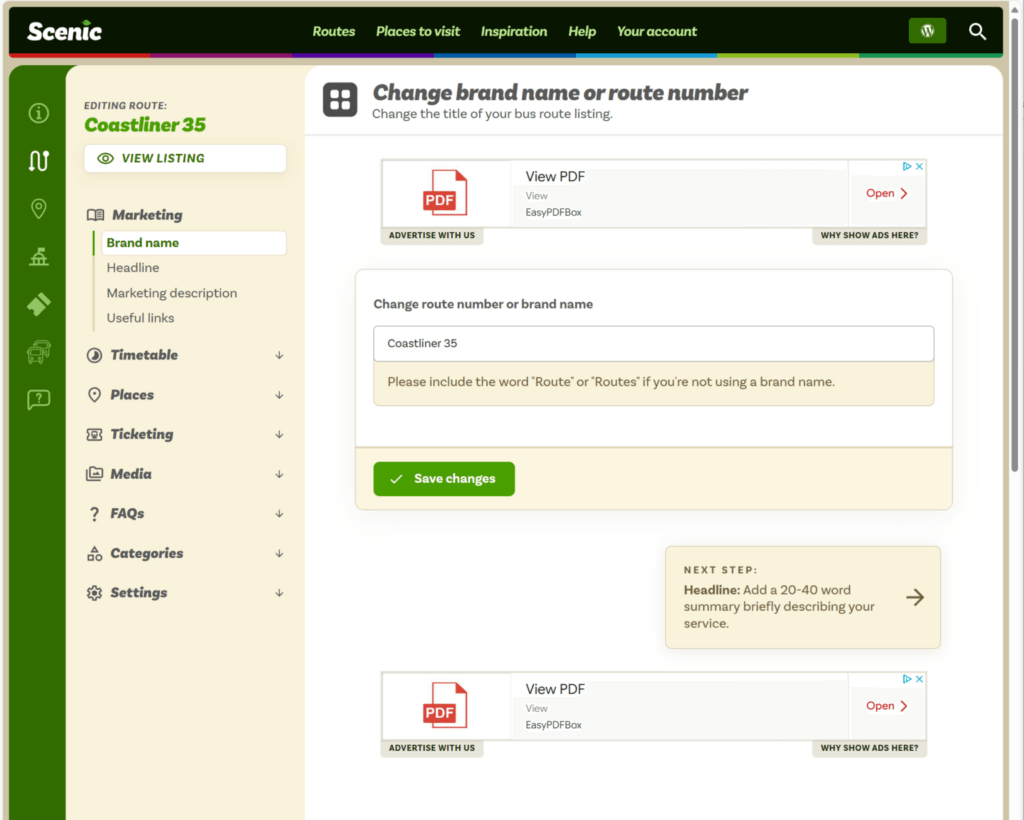
Follow the process
At the bottom of every edit page you’ll find “Prev step” and “Next step” navigation — allowing you to move through the entire editing workflow for your route, place, attraction, or any other listing type.
If you make changes to the data shown you’ll need to save your changes before moving to the next step. If you navigate away without saving, your changes will be lost.
Once saved, you’ll be redirected to the same page with a green success message or a red error message. You can then click “Next step” to continue. Repeat this until you’ve worked through all your tasks.
From the Route Editor you’ll be able to view your progress and see how many tasks you have left to complete. You’ll find specific help guides for each part of the process throughout Scenic Docs.
* The first step in the Wizard only shows “Next step”, and the last step only shows “Prev step” — so you’ll always know where you are in the process.
Leave a Reply