Once you’ve added your tickets to the Scenic Listing Manager, you need to assign the ticket to one or more bus, coach or rail routes.
To do this is very easy:
- Log in to the Scenic Listings Manager
- Go to the routes dashboard and edit your route
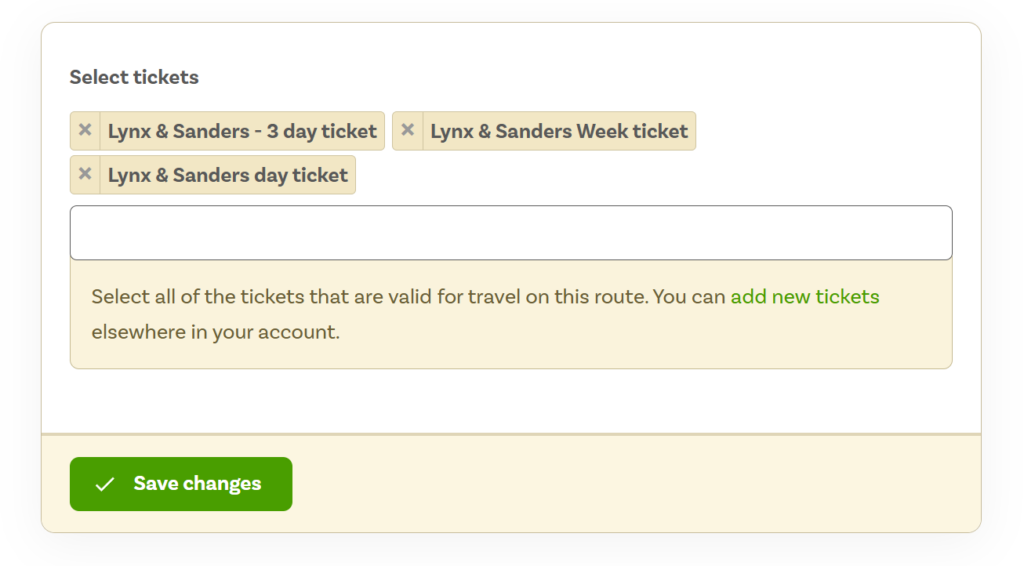
- Go to “Ticketing” > “Fares & tickets”, this will show a form with one field: “Select tickets”
- Click in the form field and search for your ticket name
- Once you’ve selected a ticket it’ll appear above the form field – you can add as many tickets as you like
It’s worth noting some ticket names will appear in this list different to how they do on the website – the ticket name shown in this form field is the SEO title and not necessarily the name shown in the tickets manager.
It’ll look something like this:
Remove a ticket
You can remove a ticket by clicking the little “X” cross next to the ticket name.
Leave a Reply