5 – Editing location content & images
Once you’ve completed the Wizard process, you’re ready to begin editing locations (we call them “Places to visit” on the website).
You can add a subtitle, a description, several images (including using our free stock imagery tools), and add attractions (we call them “Things to do”). We even have some nifty AI-powered tools to assist you.
How to find a location to edit
By previewing your listing
When you’re editing a route, you can view or preview your listing to see all the places to visit attached to your listing.
Click on one of those links (in “All places”) and then click the “Edit” button in the main website navigation to begin editing a location.

Through the Scenic Listings Manager
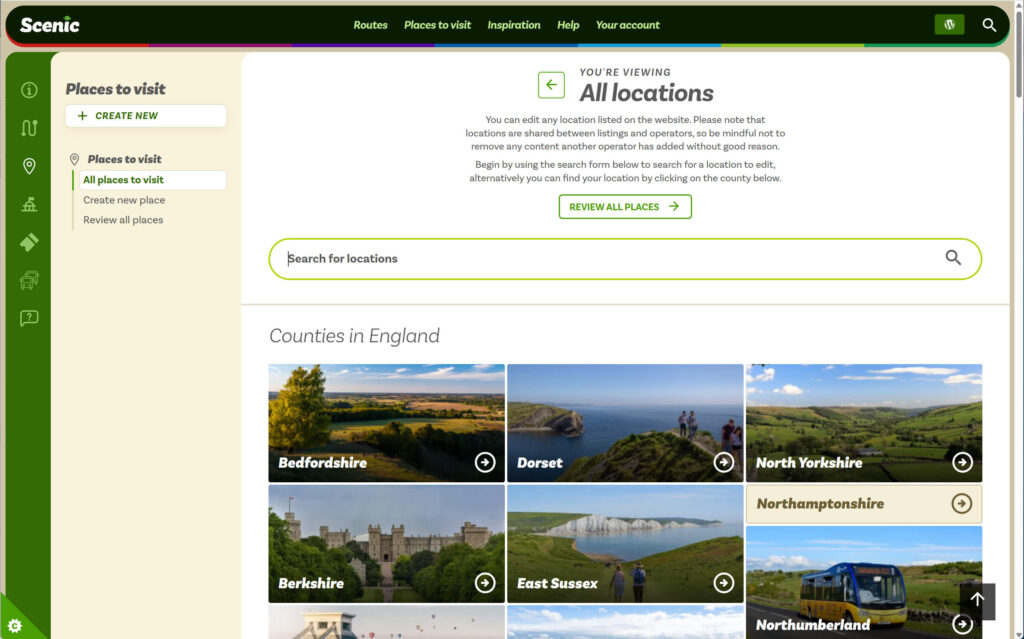
The third way to find a location to edit is to view the Locations Dashboard within the Scenic Listings Manager and search for the place you’re looking to edit.
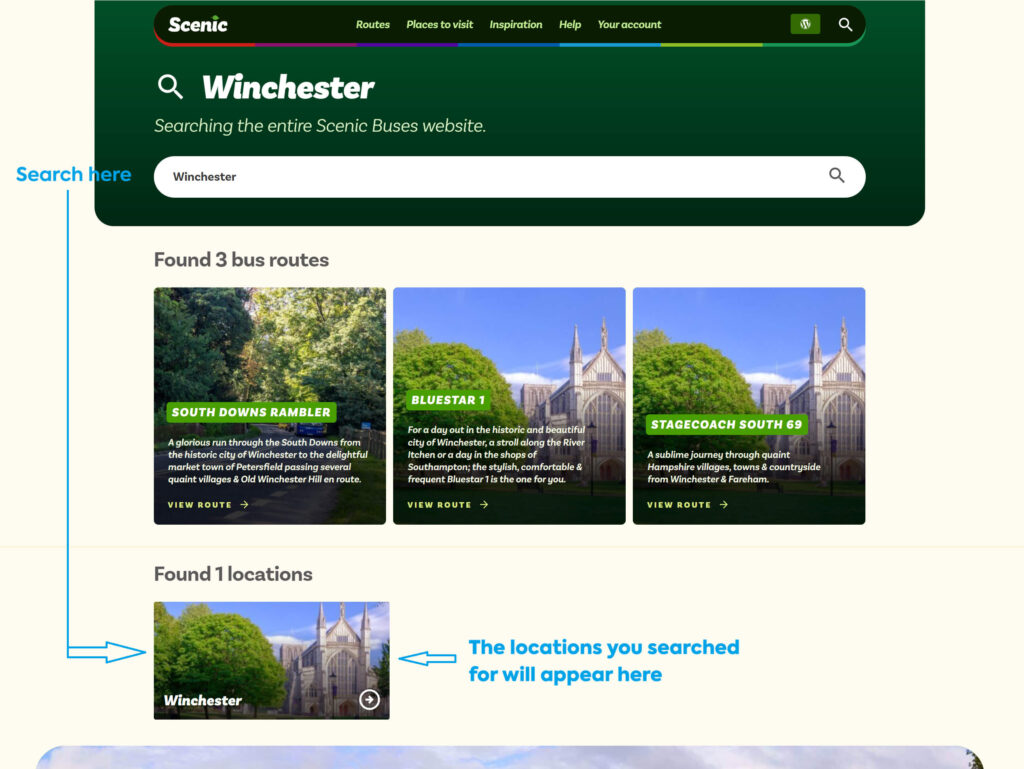
By searching the website
You can also search the website for a location and then click the “Edit” button in the main website navigation to begin editing a location.
Editing a location
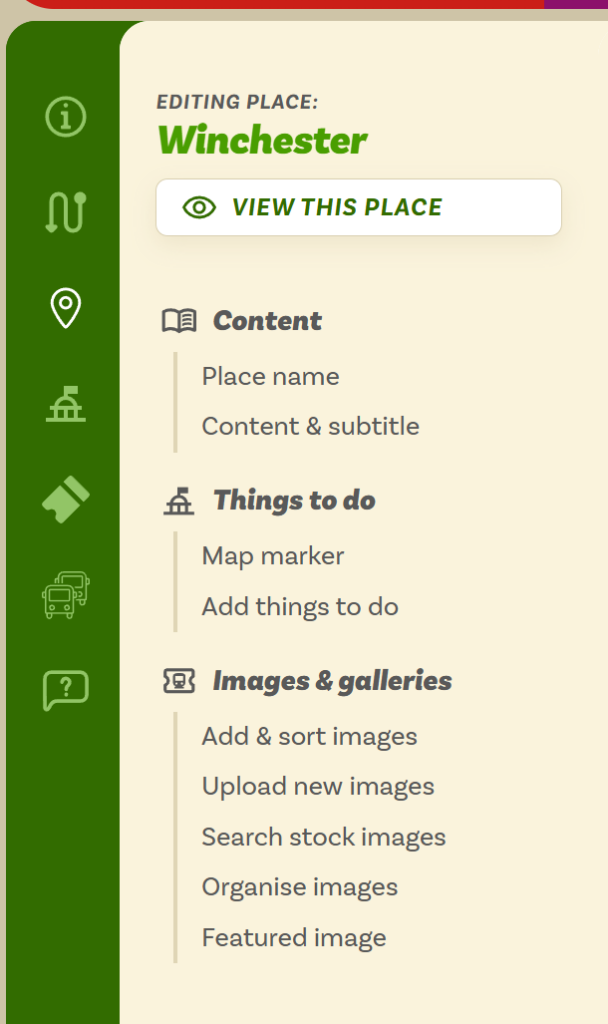
When you begin editing a location you’ll find some helpful links on the left hand side allowing you to jump to specific bits of the location to edit.
From this nav, you can add a description of the place and catchy subtitle – with ChatGPT powered tools to help you write the content.
You can also add things to do (attractions) to this location – useful for adding attractions to your route listing. You can find more about adding attractions in the Scenic Docs.
Once you’ve added the above you can proceed to adding images and other media.
Adding images
When you’re adding images to your listing, it’s best to add them to a location if you can.
This helps tag the image in our system and reduces the chance of duplicate images being uploaded and helps users understand where a photo was taken.
Next step:
Learn all about adding images and other media to your route listing.
Leave a Reply