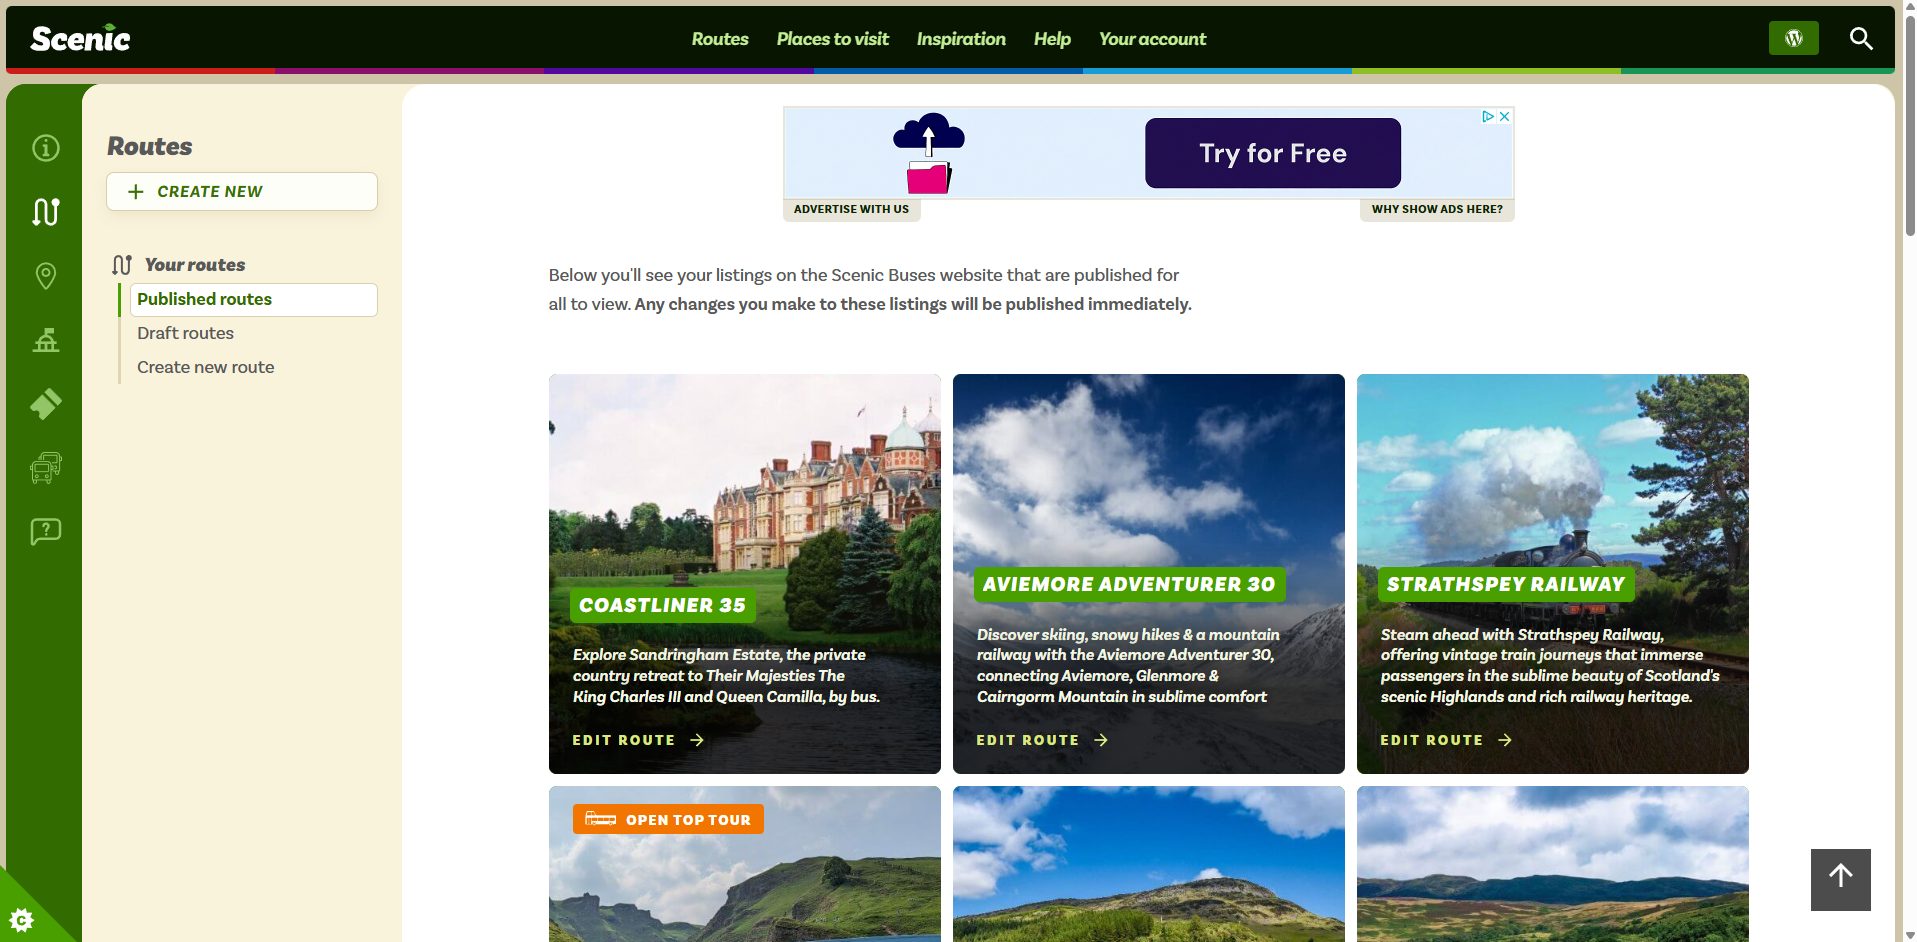
When you log in to the Scenic Listings Manager and go to “Routes” you’ll be presented with the routes dashboard. A page showing you your listings that are published with options to do more.
You can find out the difference between draft and published routes in the Scenic Docs.
Route listing pod
On this dashboard you’ll see each of your listings as they’ll be shown to users on the website – in what we call the “Route listing pod”.
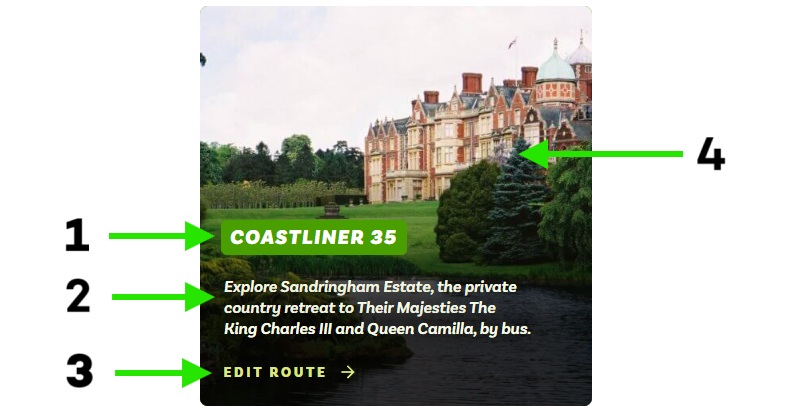
- “Route brand or number“
- “Headline” – a short description shown in the route listing pod and under the main image on your listing.
- Call to action, this is not editable. In the Manager it’s “Edit route” elsewhere it’ll be “View route”.
- “Featured image” – shown on the route listing pod and as the main image when viewing a listing.
Some routes have additional items, such as a marker for “Open top tour” which you can control from within the Manager.
You can find out more about editing your route listing pod and the fields contained within it by reading our Scenic Docs.
Create a new route
From the route dashboard you’ll see two options to create a new route:
- A “Create new” button under the “Routes” title
- “Create new route” in the navigation
These are the same button, you can use either.
You can find more information about adding a new route to Scenic within the Scenic Docs.
Leave a Reply