4 – Follow the wizard
To help you add information and images to your route in the easiest and most logical way, we’ve created what we call the “Wizard navigation”.
It’s a step by step process that allows you to quickly and easily add info to your listing without you getting lost or wondering what’s next.
Getting started with the Wizard
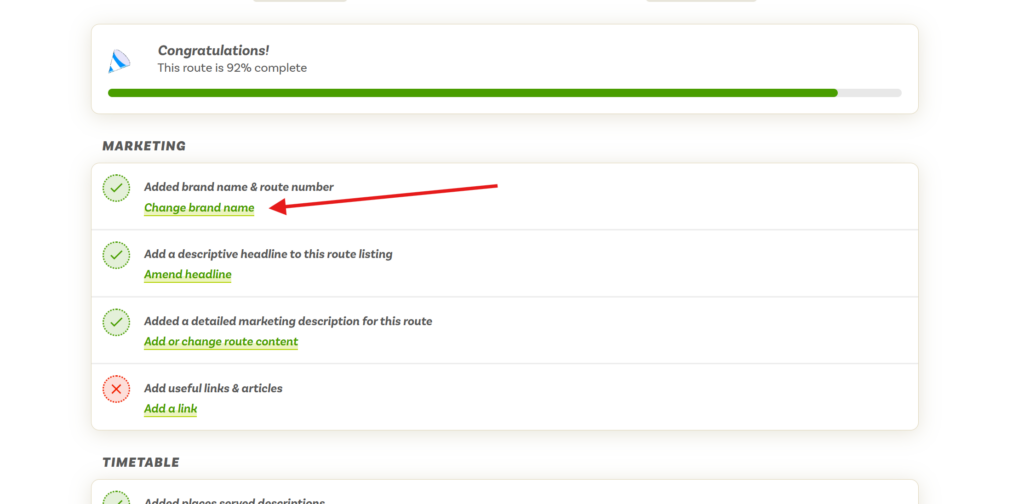
To get started using this easy process, you click on “Change brand name” in your to-do list. It’ll look like this:
You’ll get taken to a page that looks like this:

You can get to know the route editor in a bit more detail through one of our helpful guides.
Follow the process
On each of these form pages you’ll see two buttons below the form – “Prev step” and “Next step”*.
If you make changes to the data shown in the form you’ll need to save your changes before proceeding to the next step. If you click “Next step” without doing so your changes will be lost.
Once you’ve saved any changes you’ve made you’ll be redirected to the same page with a green success message or a red error message.
You can then click on the next step button to continue to the next part of the process. Repeat this until you’ve reached the end.
From the route editor you’ll be able to view your progress and see how many tasks you have left to complete. You’ll find specific help guides for each part of the process, so if you need help consult those guides first.
* the first step in the Wizard only shows “Next step” as per the screenshot above, and the last step only shows “Prev step”… hopefu
Next step:
Learn the basics on how to add content, imagery and things to do to locations in the Scenic Listings Manager.
Leave a Reply